This page is for the DJI Phantom 3 and 4 controller GL300C. I am posting it so Erik can tell me what to look for.
The controller I have is not operating as expected so I took it apart using pictures from videos that were not easy to see or use. So for those who find their controller needs to be taken apart, here are the best views of the process.
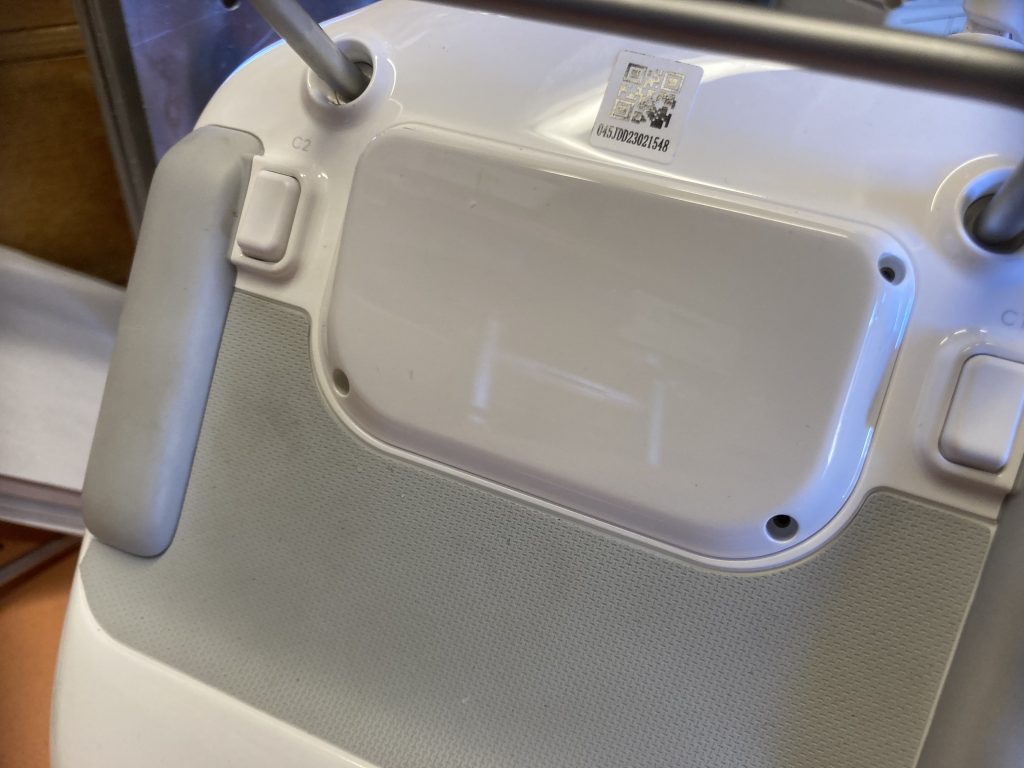
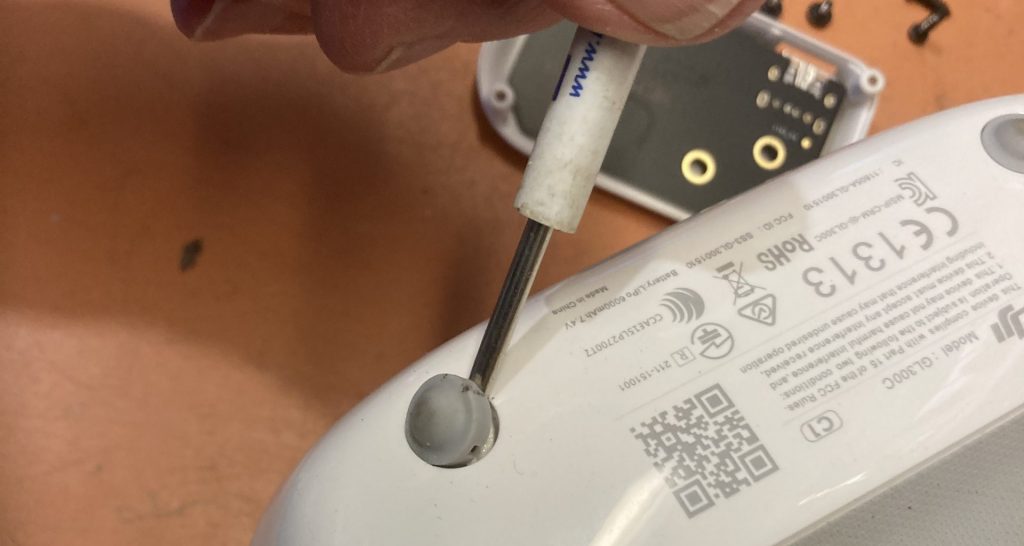
First, the back has a bulge with 4 tiny screws at each corner. These are metric hex wrench screws.
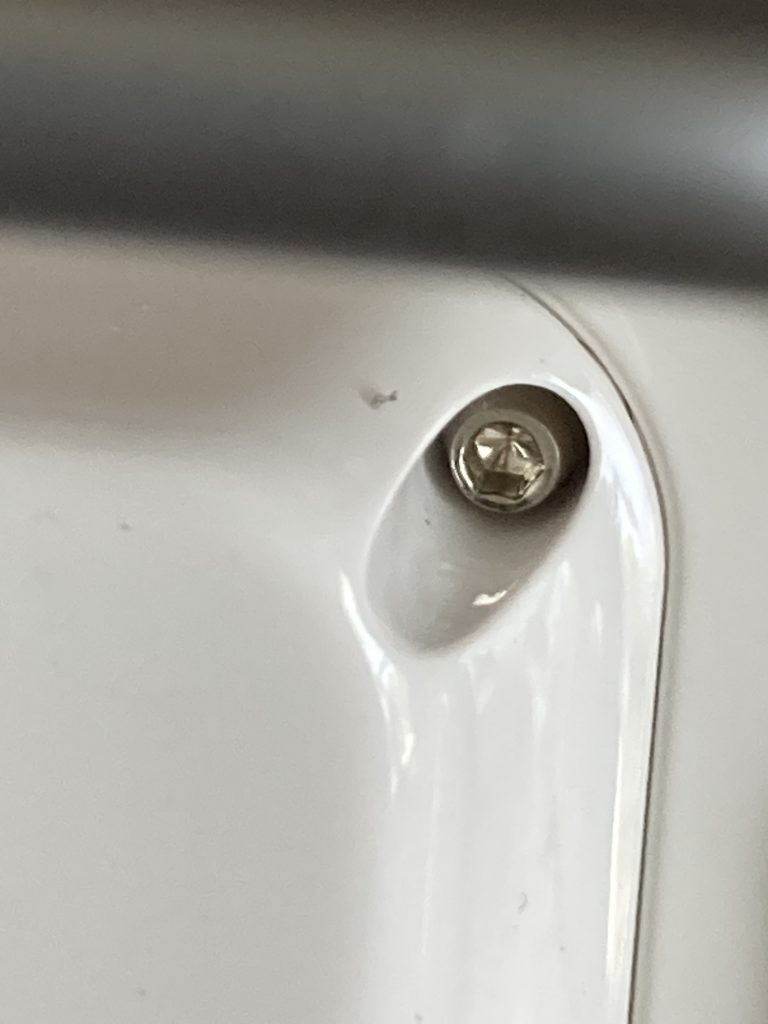
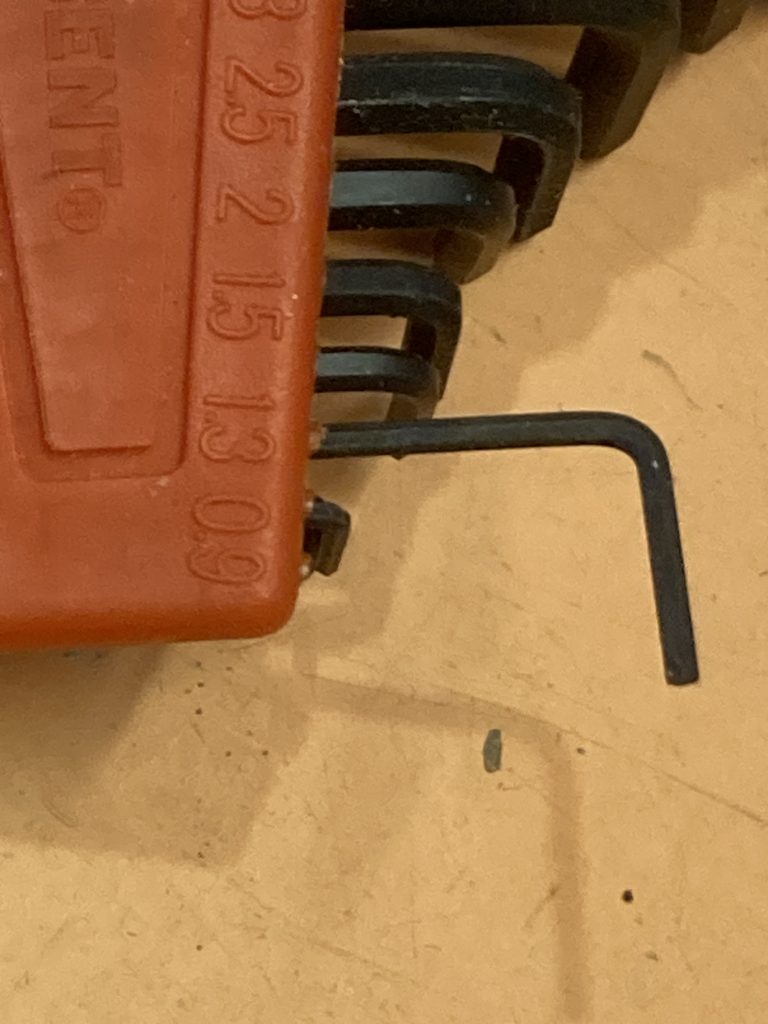
Here is a closeup of the screw – it is moved by a tiny 1.3 mm hex wrench
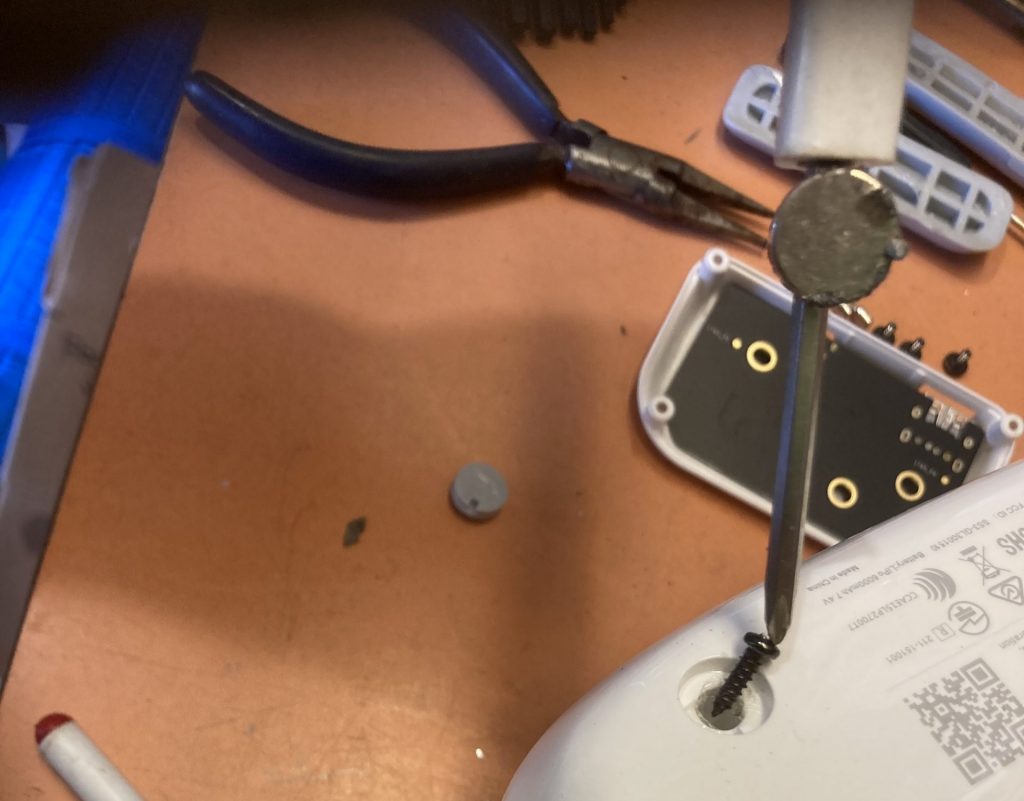
I used a magnet to cause the wrench to lift the screw
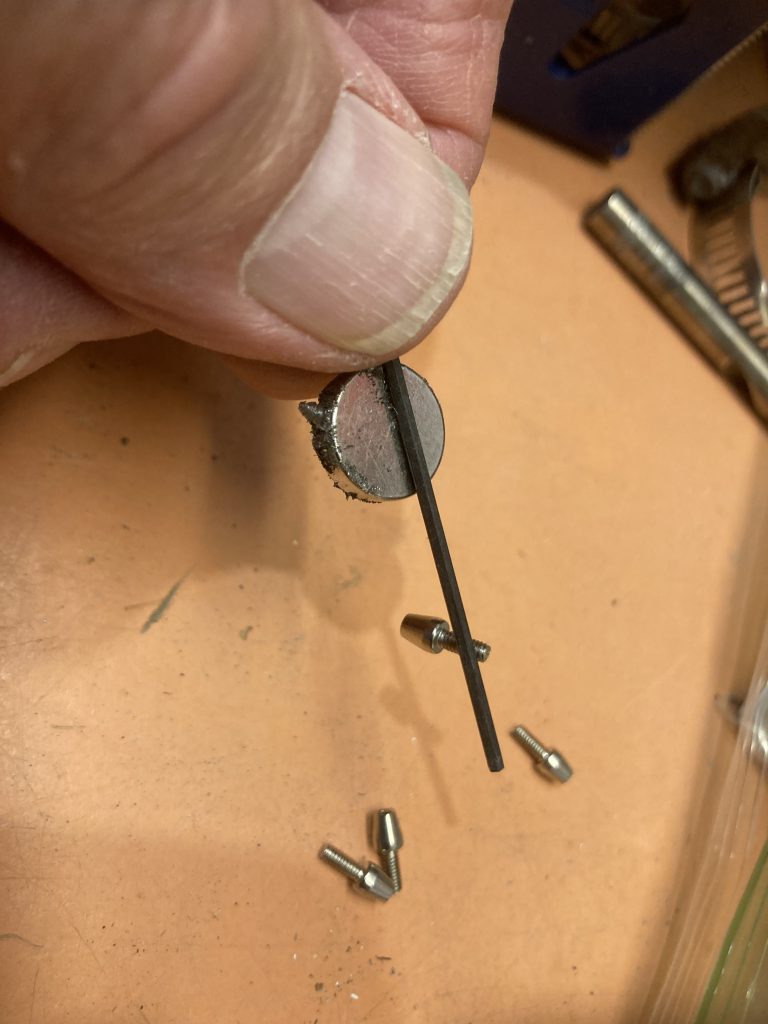
Here is the hex wrench set with the 1.3 ready
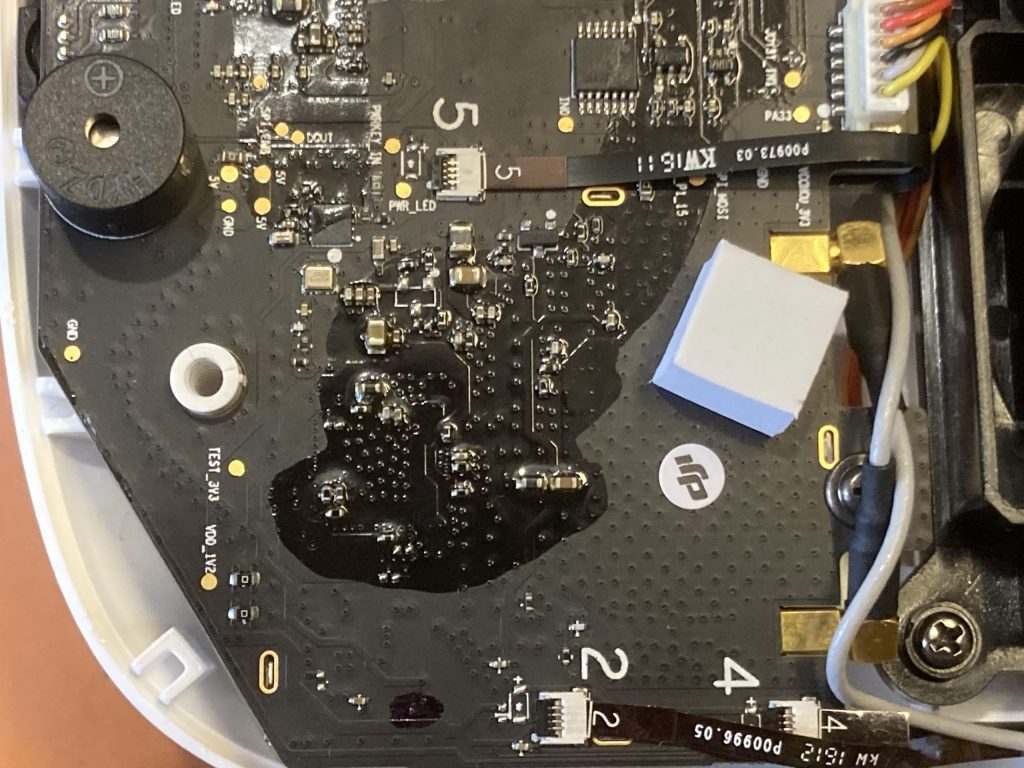
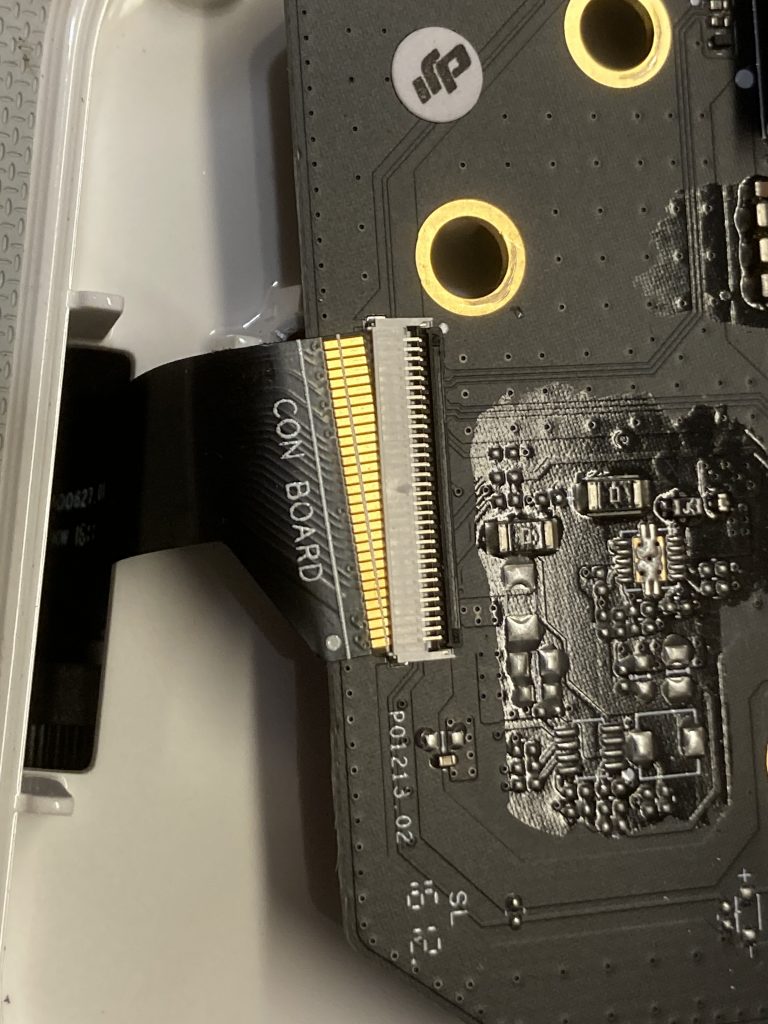
Here is the pc board under that cover
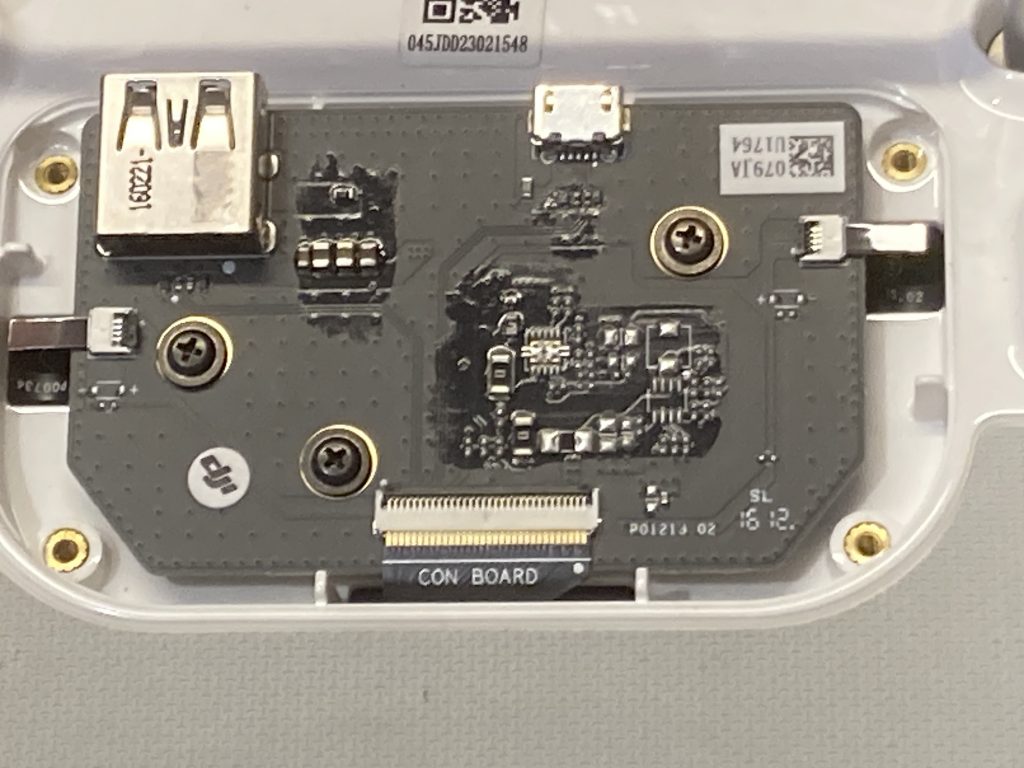
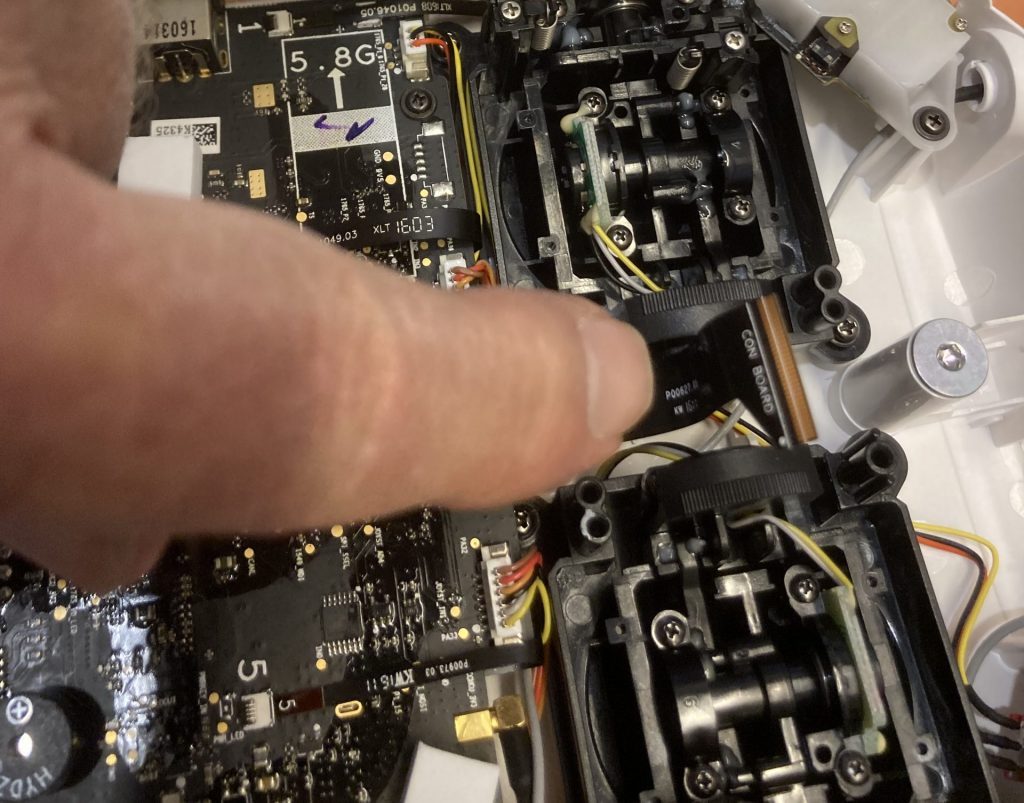
At the upper right you see a tiny cable in a white connector – this is a closeup
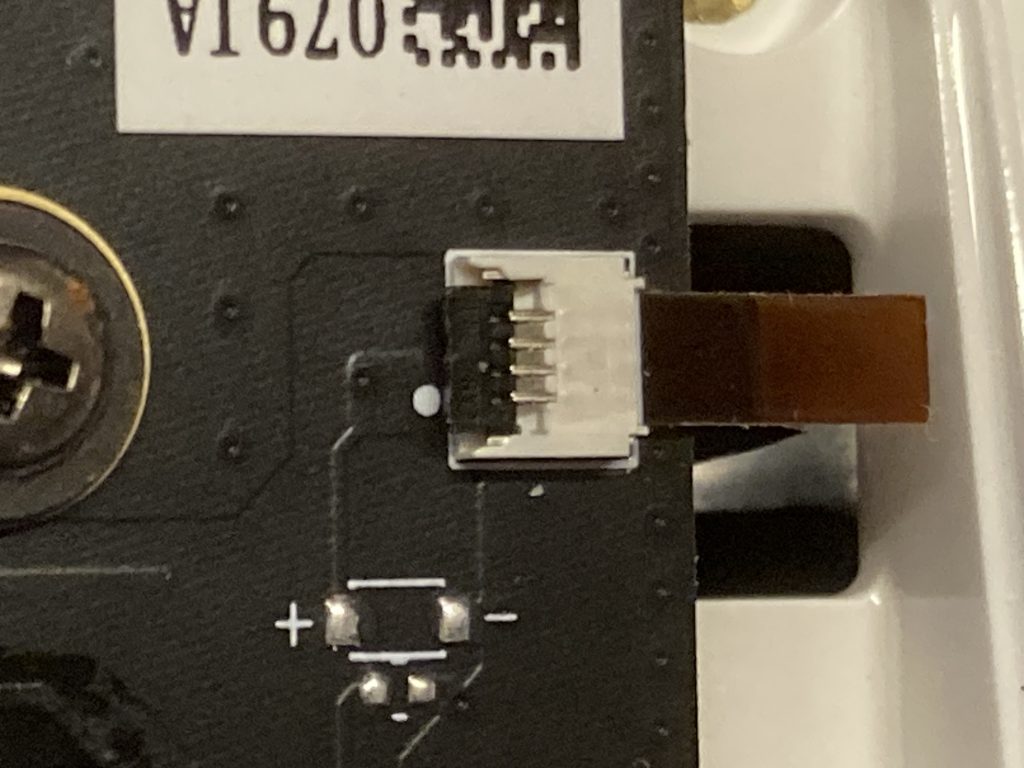
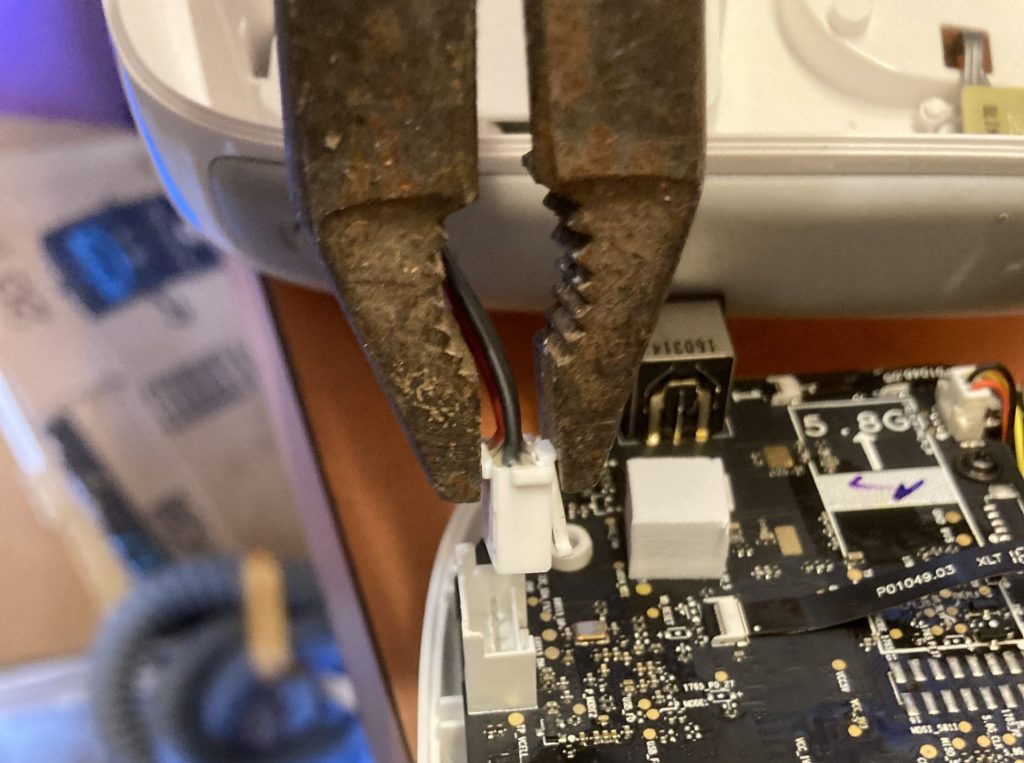
Here is the tiny cable end (just lines on flex circuit) dislodged.
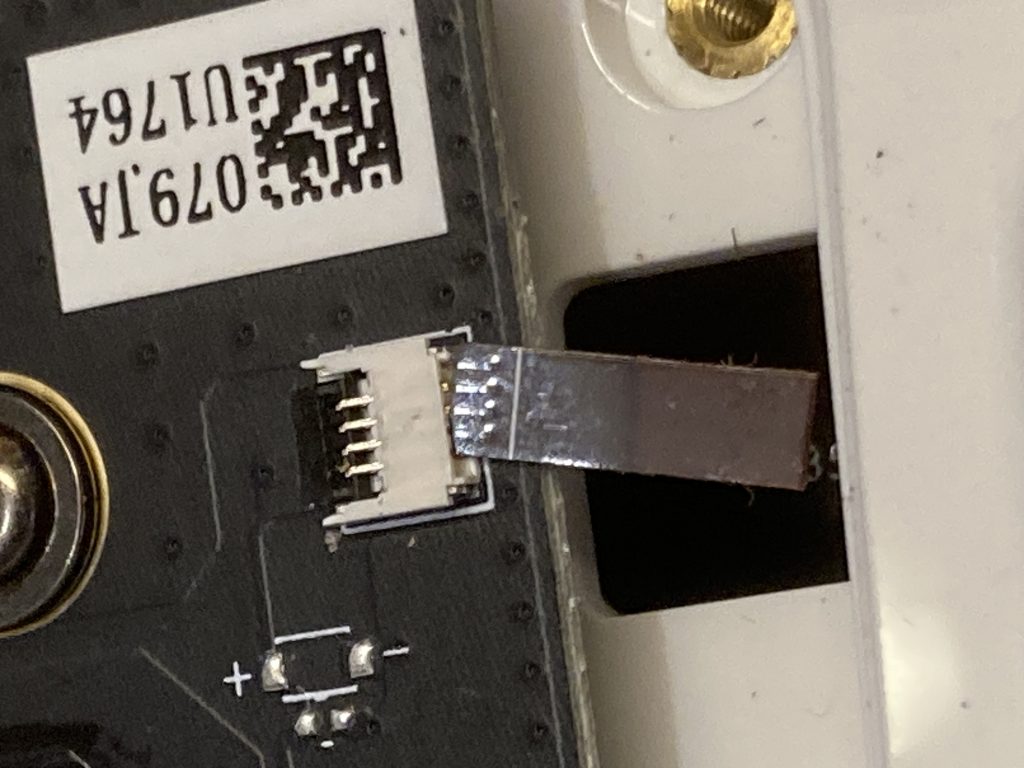
Below is the circuit out of the connector. I used a needle nose plier to pull the plastic handle on top.

Below is one of 3 crews holding the pc board to the case. I used the magnet again to make this easy.

Below is the wide printed circuit dislodged from its connector.
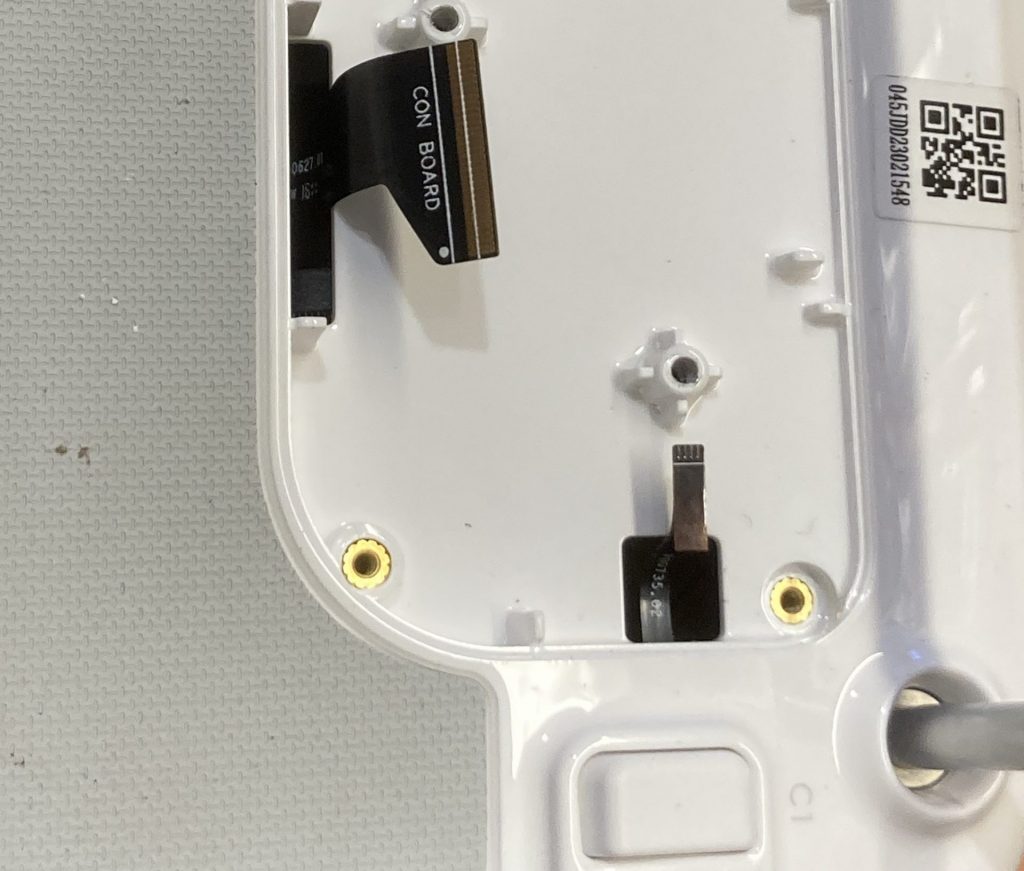
This is with board removed – the two small pc strips stay in place when this case half is removed. They happen to connect to the switches you see on both sides. The wide strip goes through the slot to stay with the other case half.
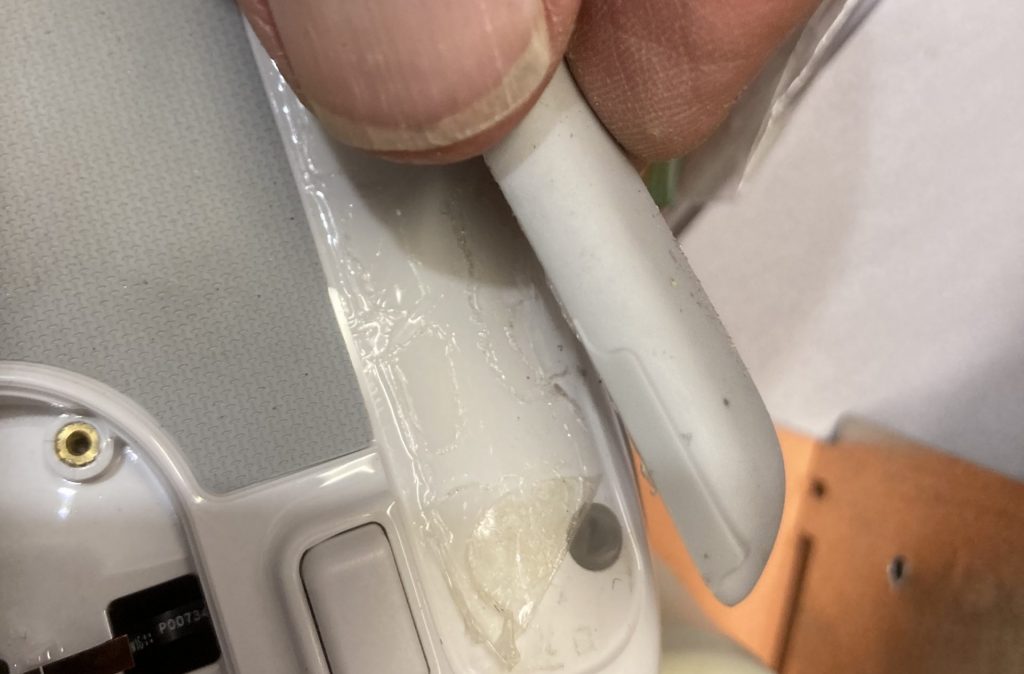
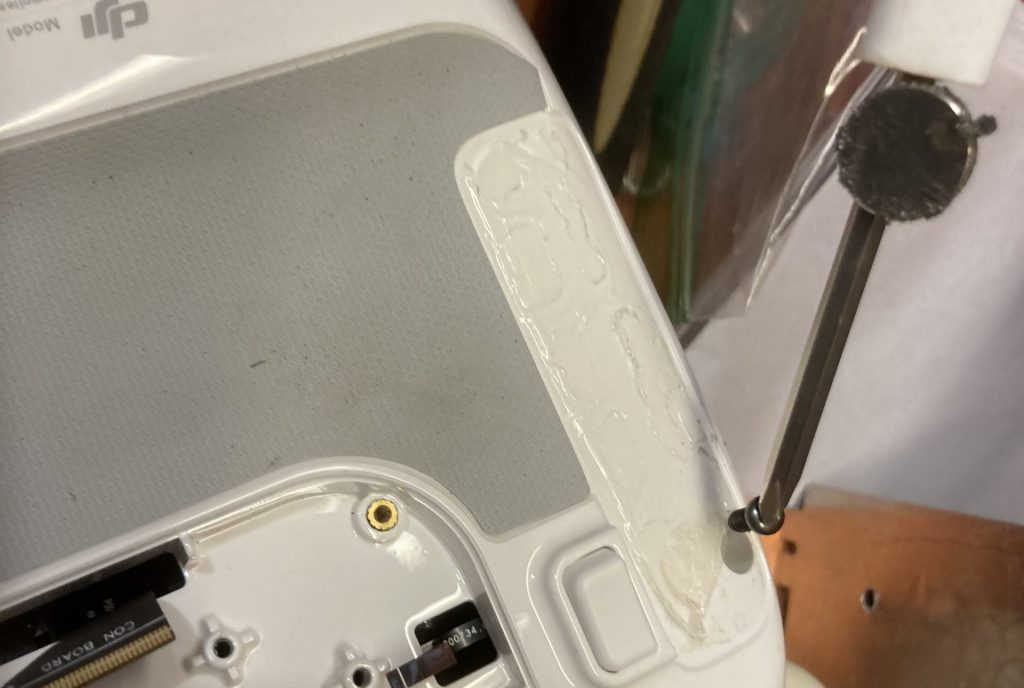
Now you pull the big soft feet off to expose the screws.
I used a magnet to make it easy to pull those 2 screws – one on each corner
Now pull the small feet off the screws.
These screws are also small.
Now the case halves can come apart. I started by pulling the other edge apart and moved to this edge where there is a springy catch.
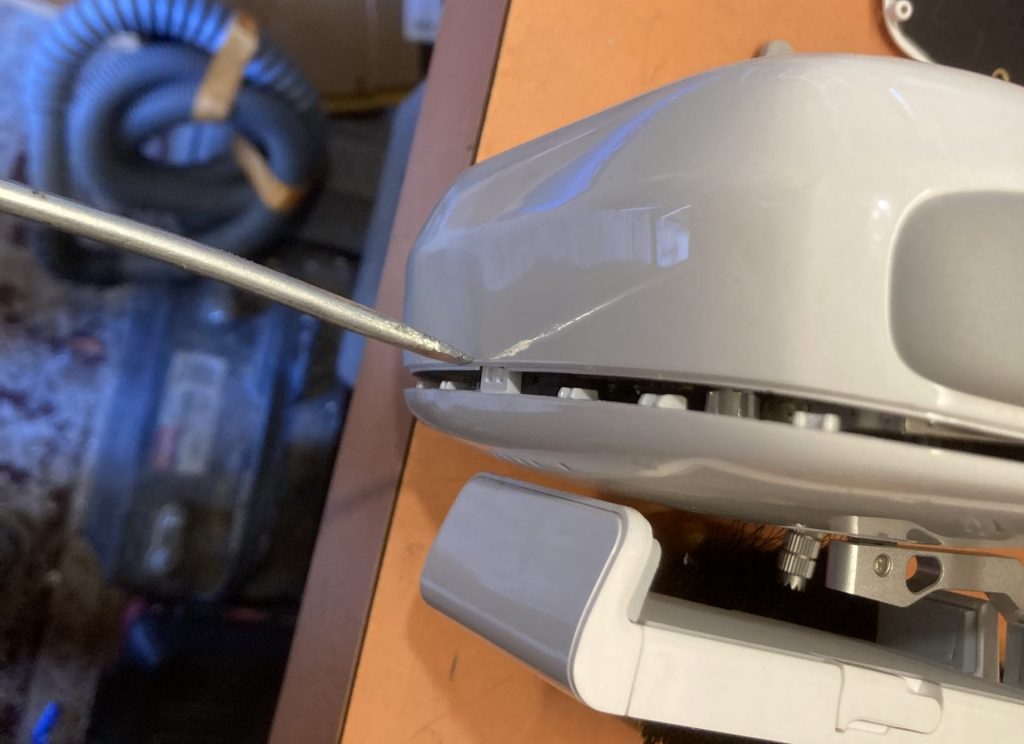
Case comes apart easily – battery cable is only connection.
You can see the wide pc cable end here.
I used pliers to pull the battery cable.
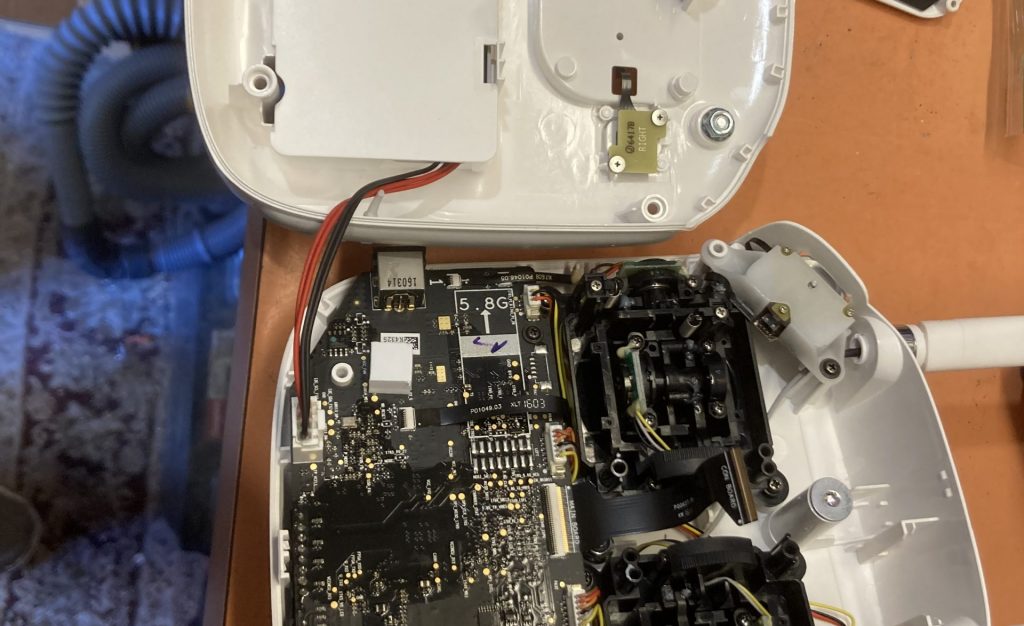
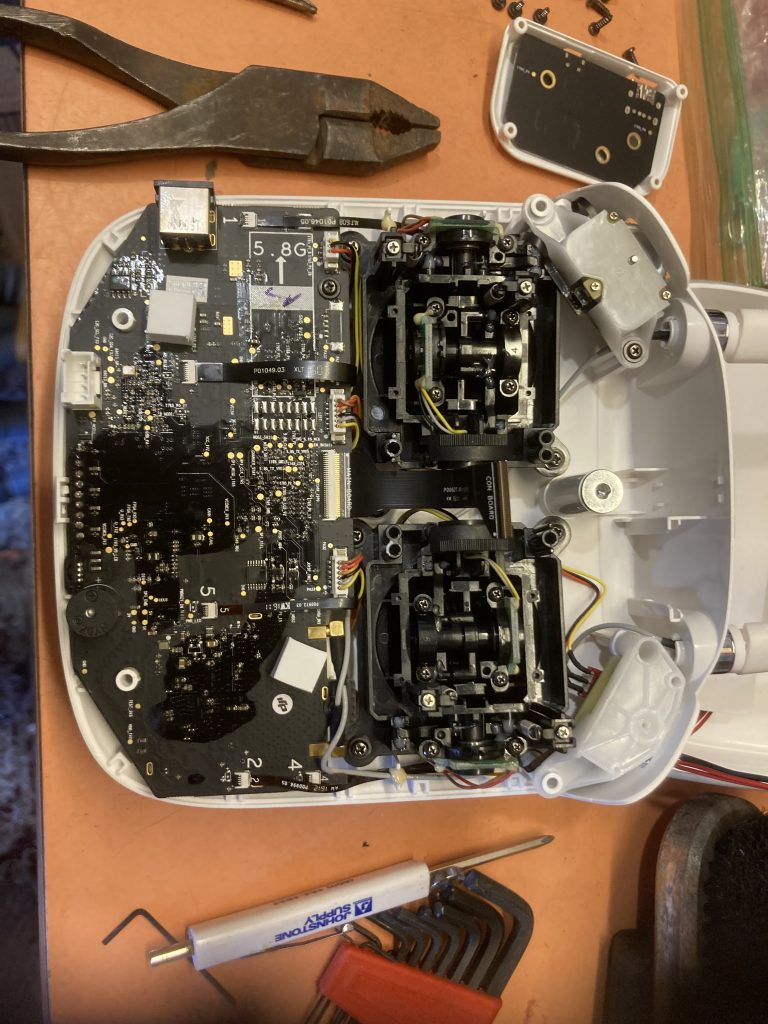
The entire control board is open to view.
Here is a closeup of the left 1/3
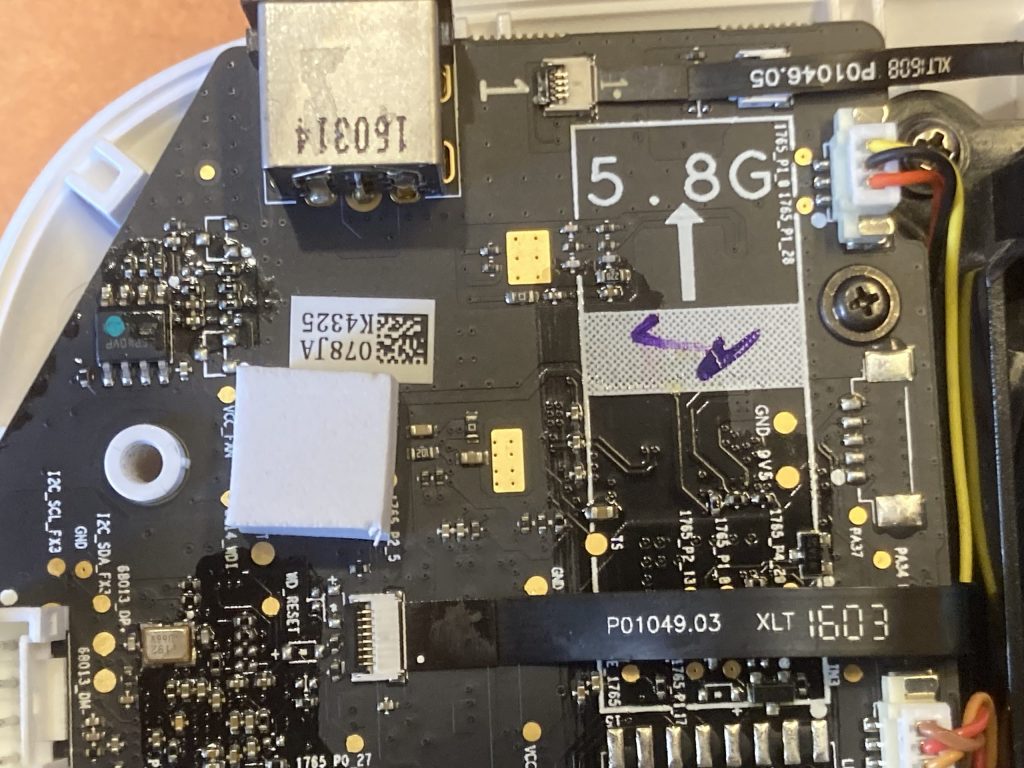
Here is the center 1/3
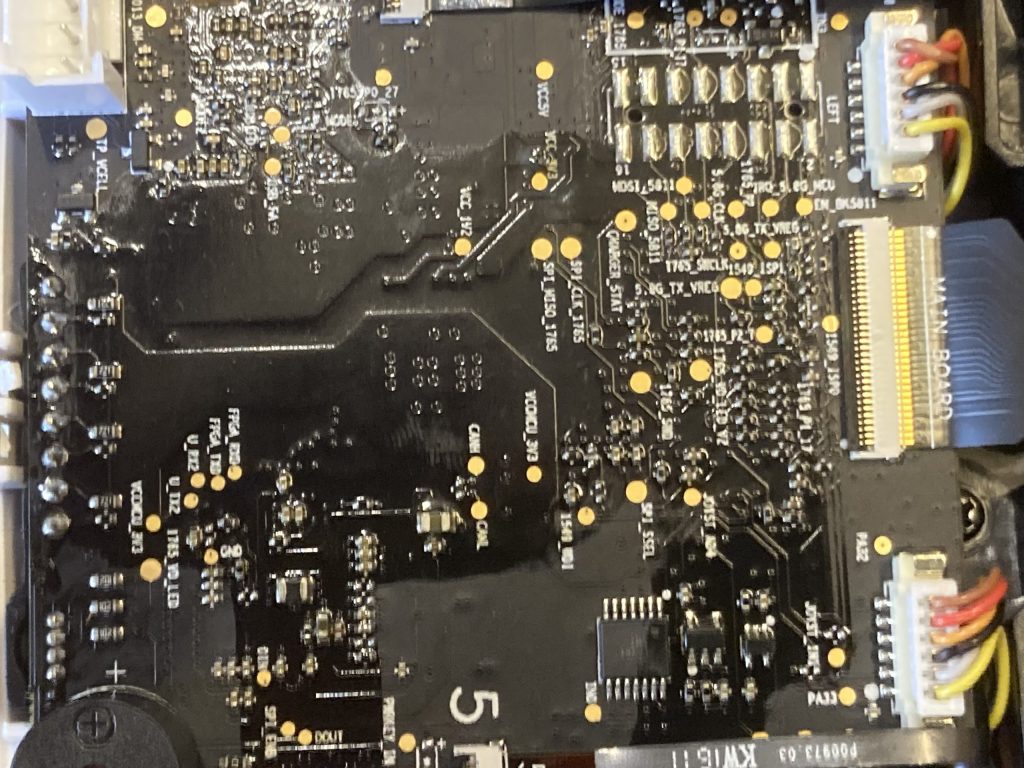
Here is the right 1/3